


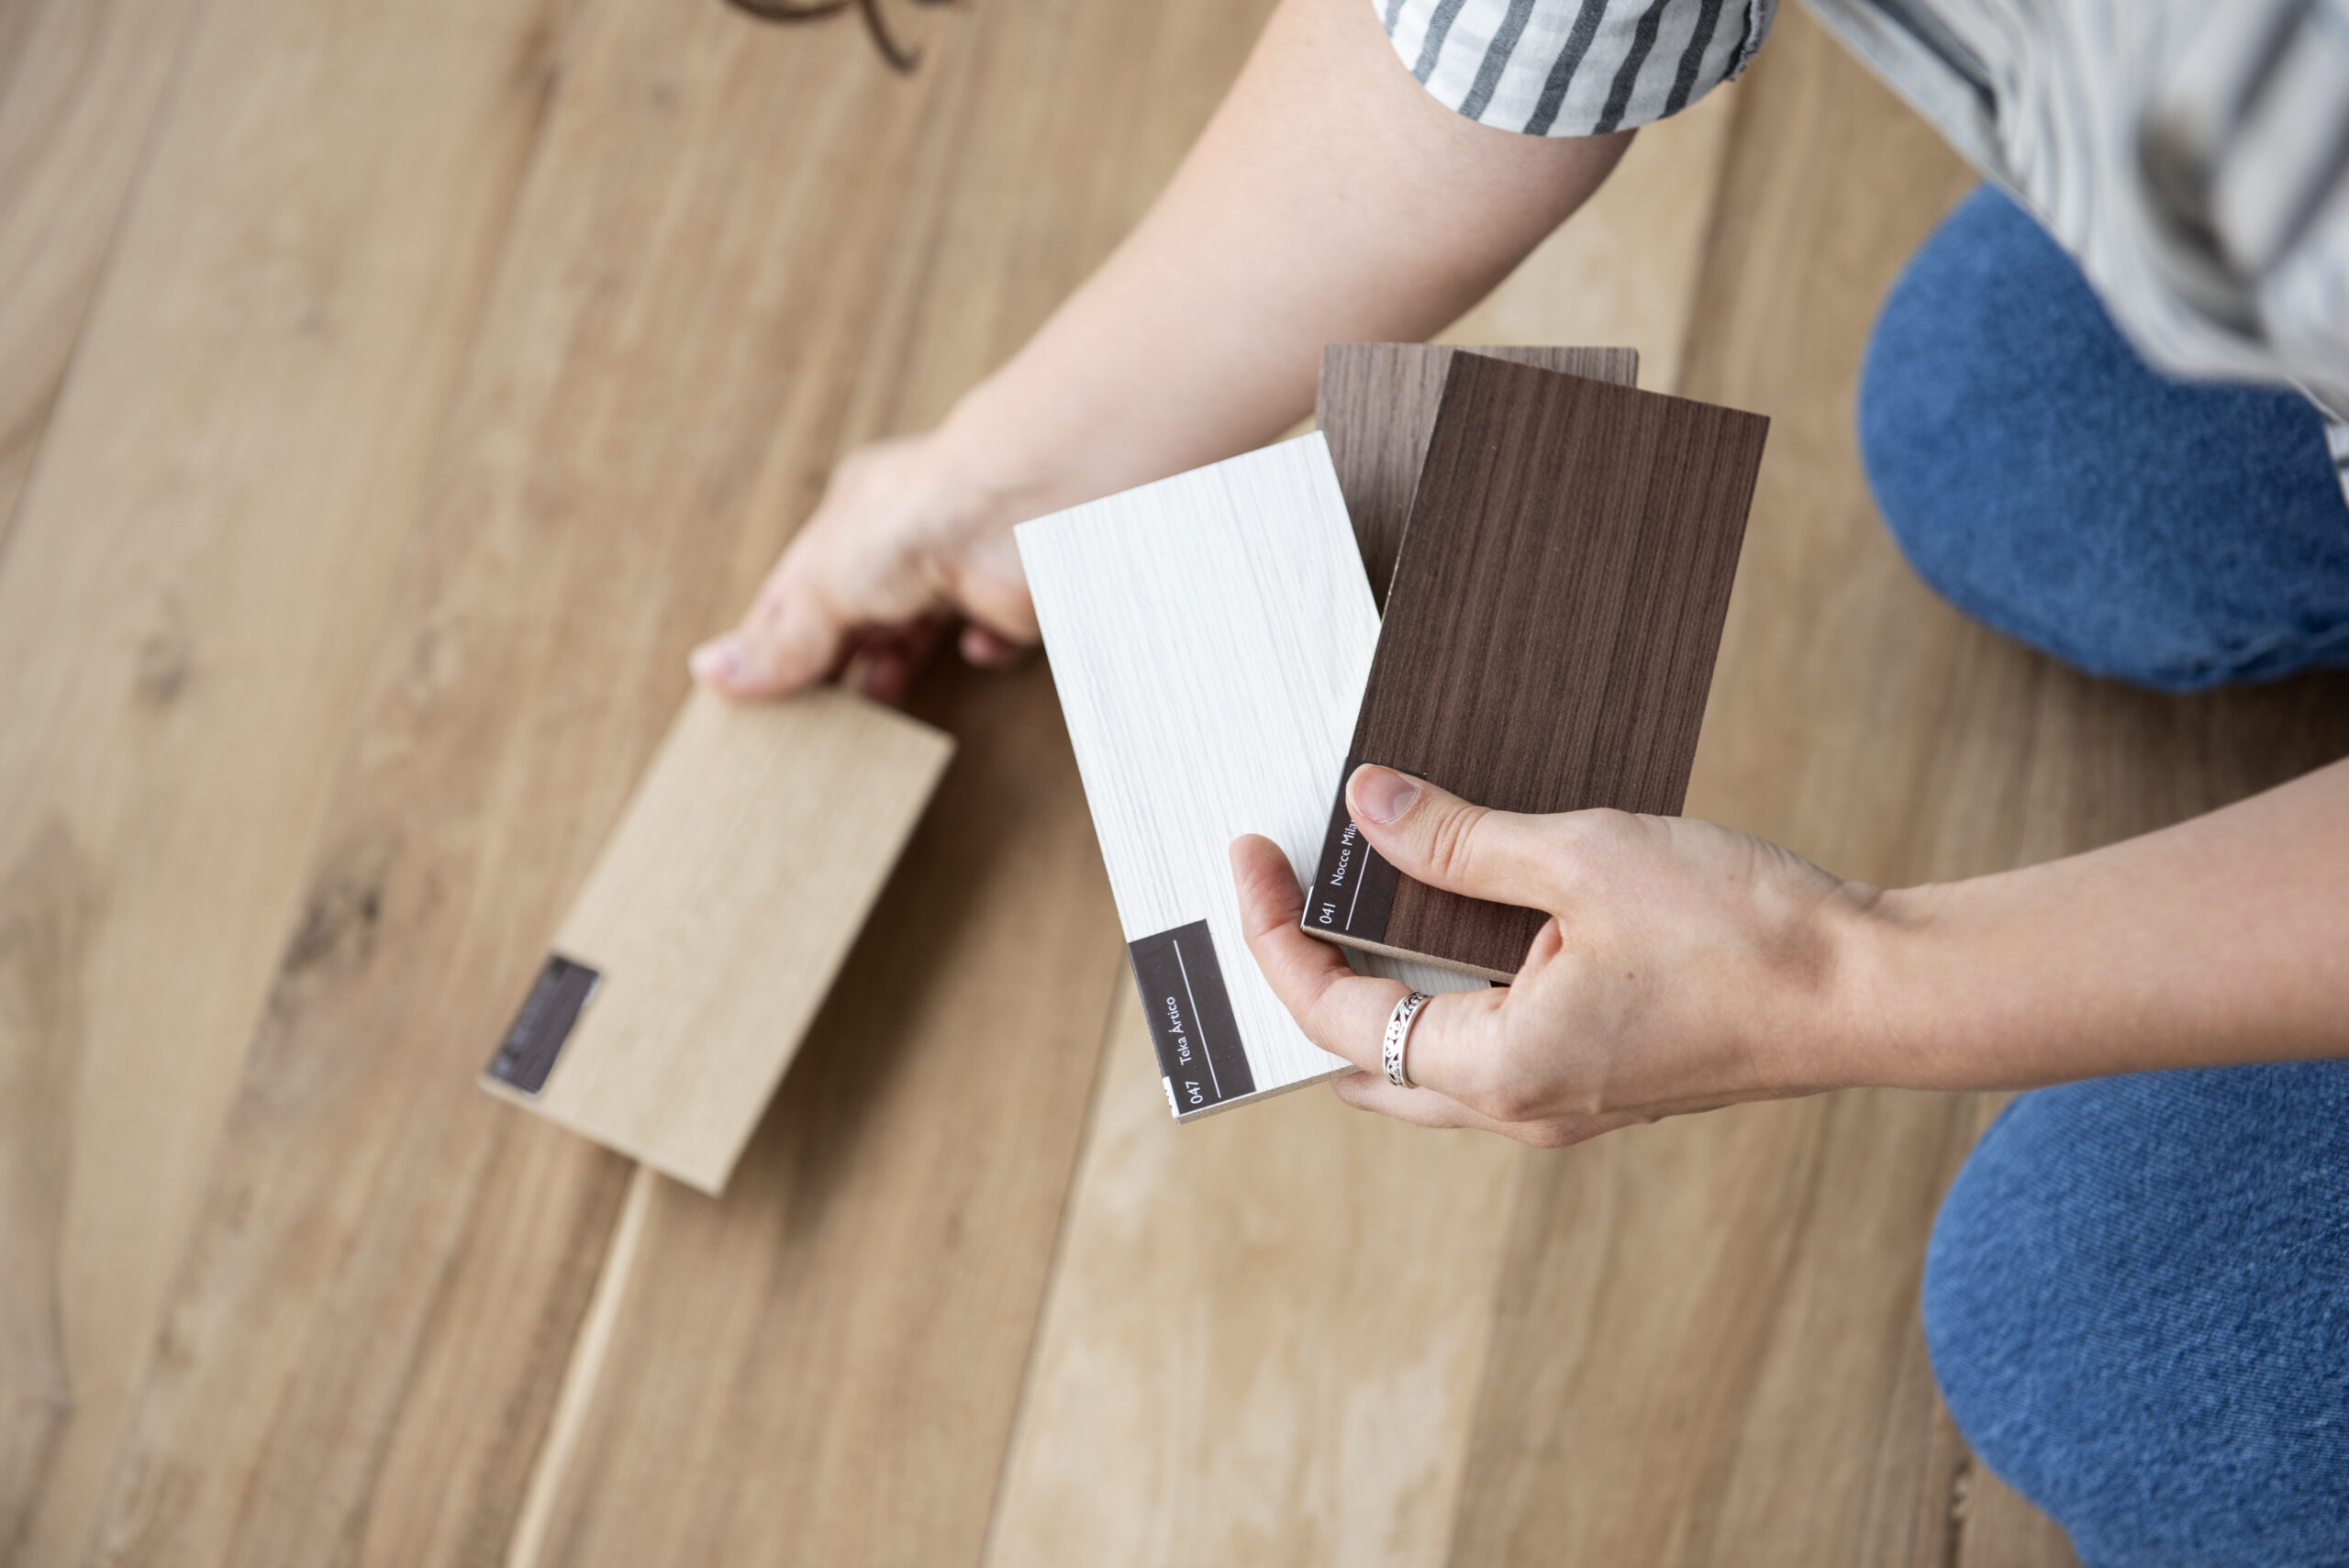


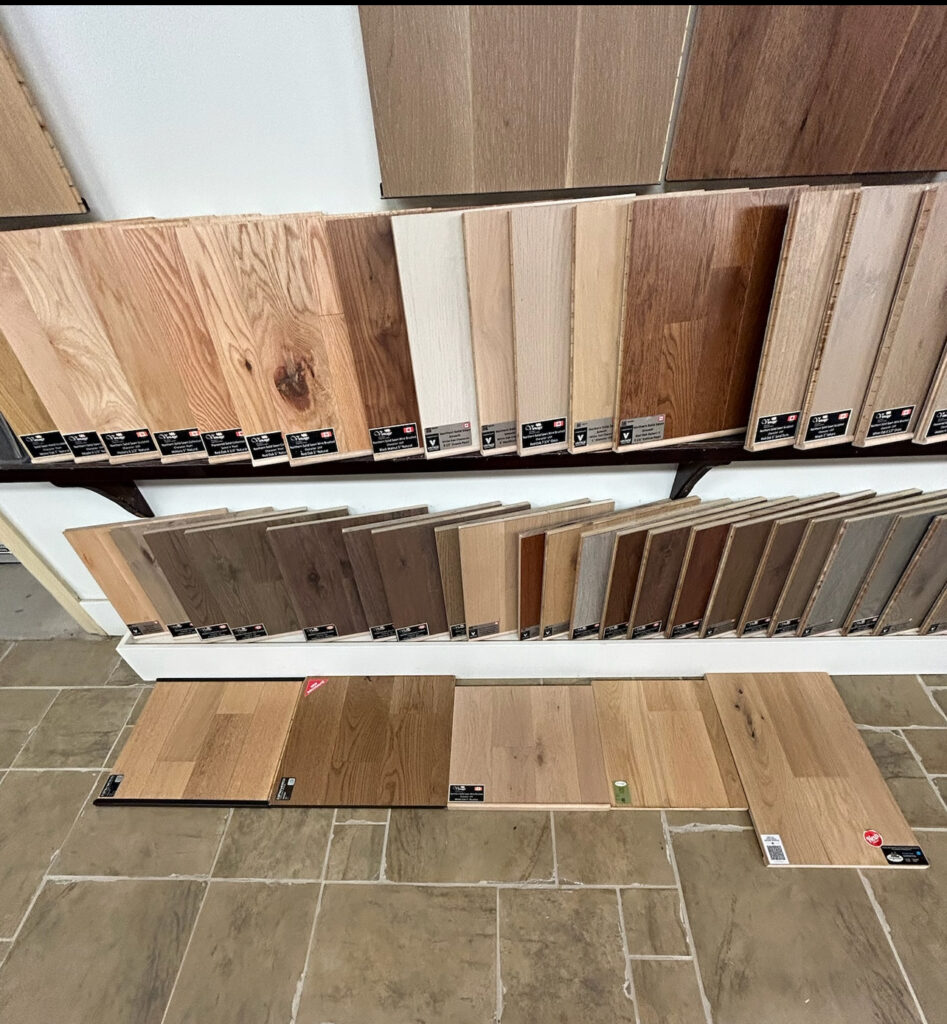
The other day, Roger and I were at the flooring store, starting to narrow down options for our new home build. We’d pulled a handful of engineered hardwood samples, and as we looked at them, Roger leaned a few against the rack to compare.
I stopped him. “Wait. That’s not how you should test flooring.”
I’ll admit—this is one of those details that seems small, but it’s everything. If you don’t lay flooring samples flat, you’re not seeing them the way they’ll actually look installed. And this doesn’t just apply to flooring. It’s the same with paint, tiles, countertops—you name it.
As a True Colour Expert, I’ve been trained to notice how finishes interact with each other and their environment, and I’m here to let you in on the secret: testing your samples in the wrong orientation can throw off everything. So let’s talk about how to get it right so you can make confident decisions for your home.
Why Testing Paint & Flooring Samplers Properly Matters
When you test a sample, you’re not just looking at colour—you’re assessing how it reacts to light, surroundings, and even texture. Each element needs to be viewed exactly as it will be installed to avoid costly mistakes.
Plus, viewing finishes incorrectly can distort their true undertones, leaving you with results that feel off in your space.
How to Test Samples the Right Way
Testing samples is all about recreating how they’ll look in your home, in the lighting and orientation they’ll be installed. Here’s how to do it:
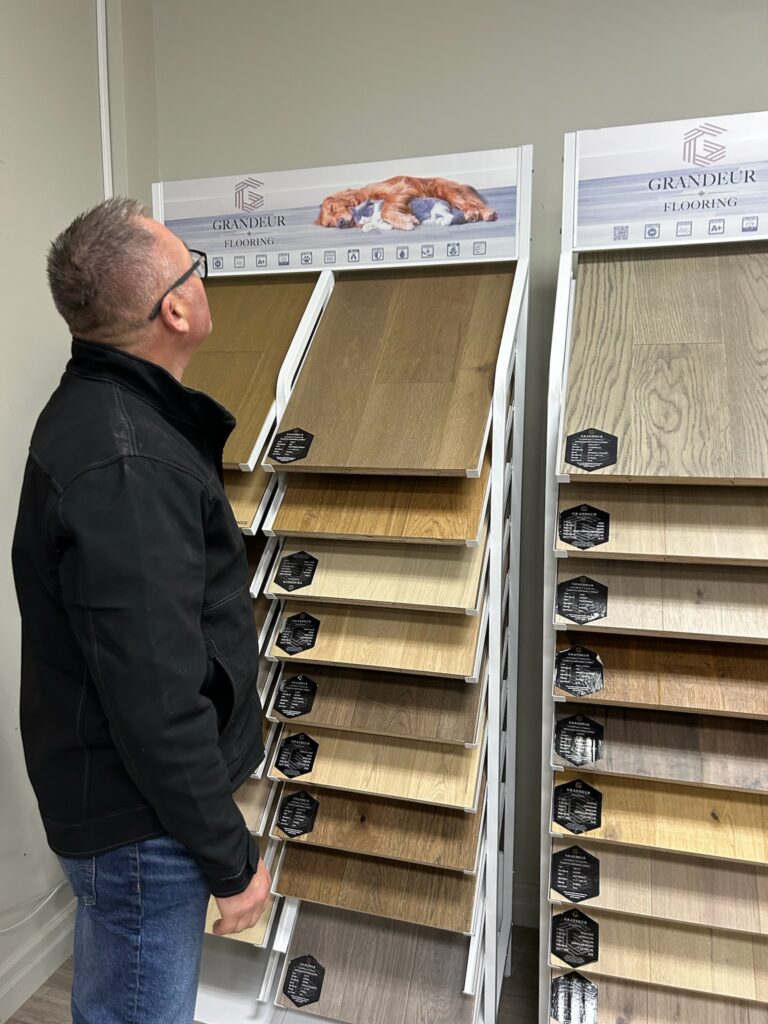
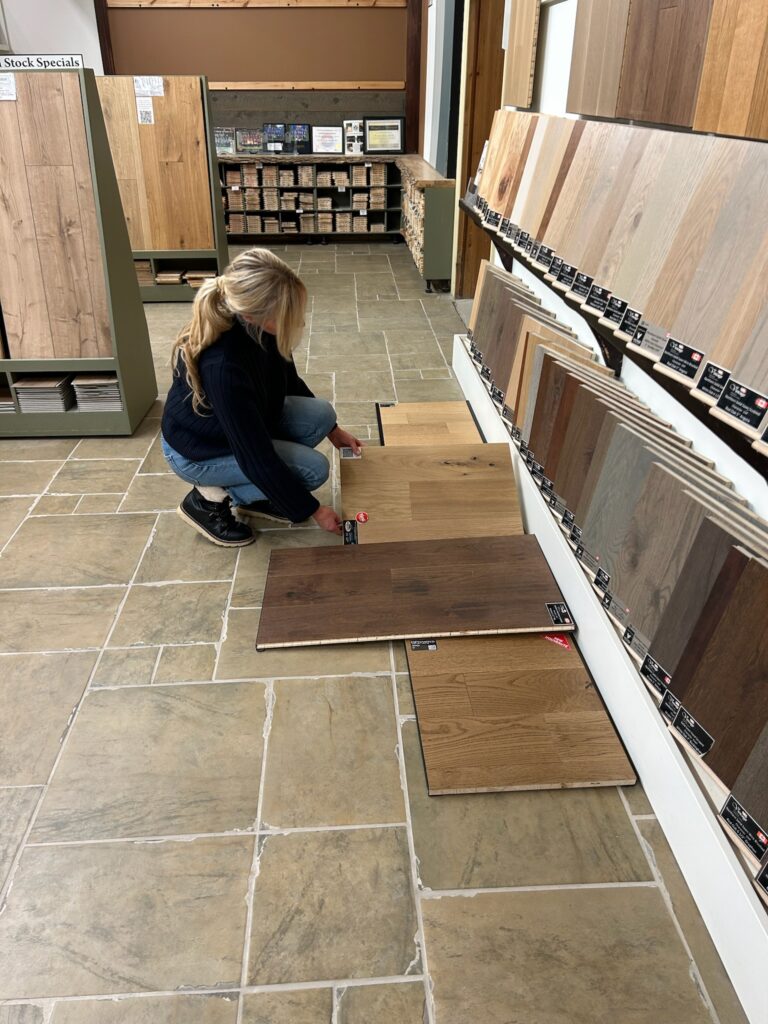
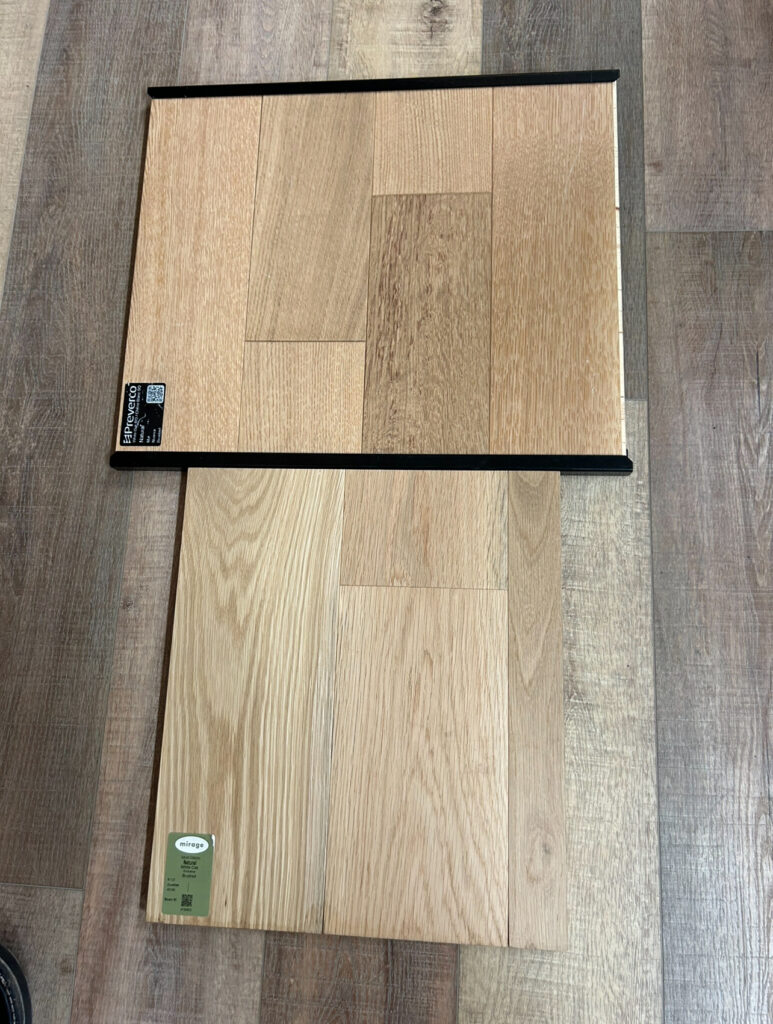
Flooring: Lay it flat.
Flooring is installed on the ground, so that’s how you need to test it. Lay samples flat to see how the light interacts with their colour and texture. Propping them up vertically can distort their appearance, and you won’t get an accurate sense of their undertones or finish.
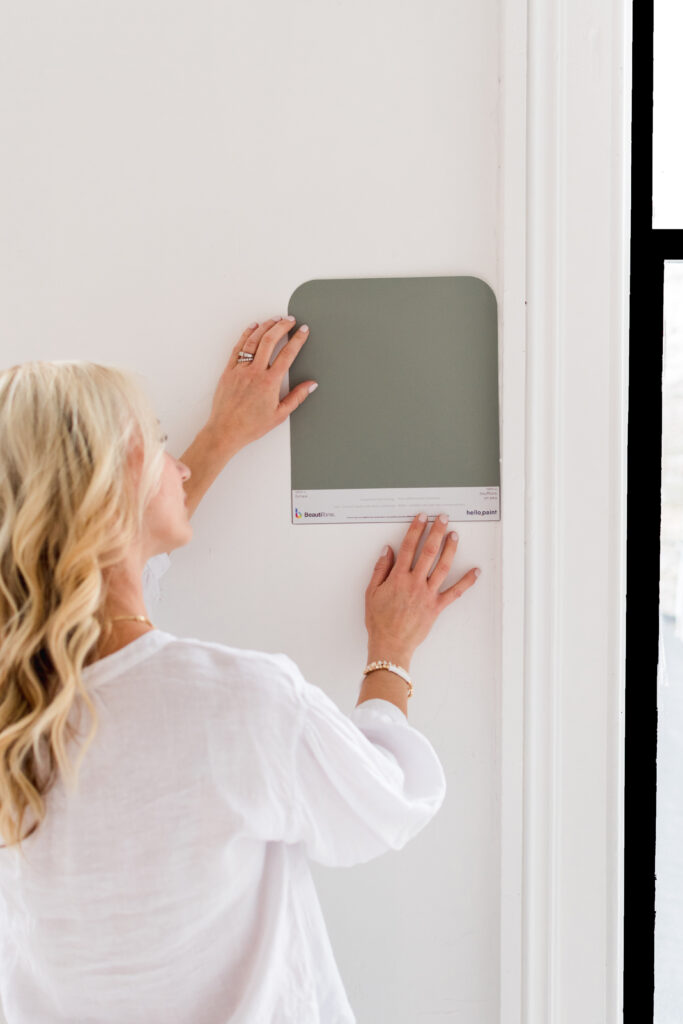
Paint Colours: Test them vertically.
Paint belongs on the walls, so view it that way. Propping your sample vertically (on a wall or poster board) mimics how it’ll look once painted. Bonus tip: Paint your sample on a large piece of white poster board, leaving a white border around it. This isolates the colour so you can spot undertones and how it reacts to different lighting in your space.
Backsplashes and Wall Tiles: Stand them up.
Like paint, backsplashes and wall tiles need to be tested upright. If you lay them flat, you’ll miss how they interact with vertical lighting and shadows. Propping them up gives you the most accurate preview of their installed look.
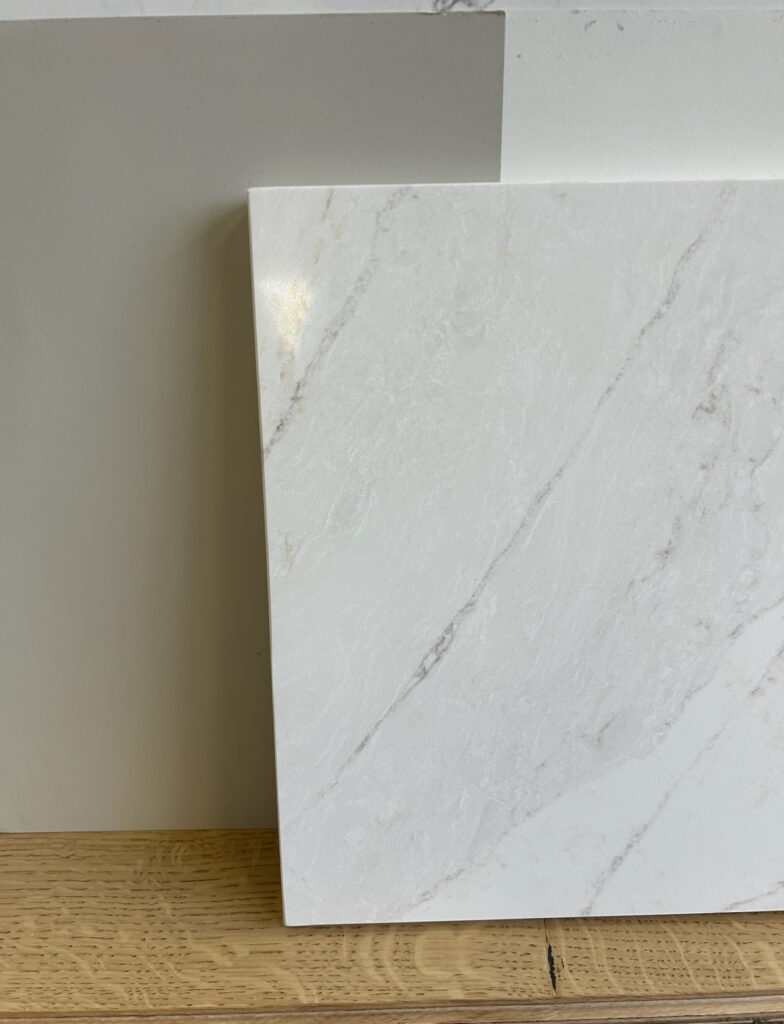
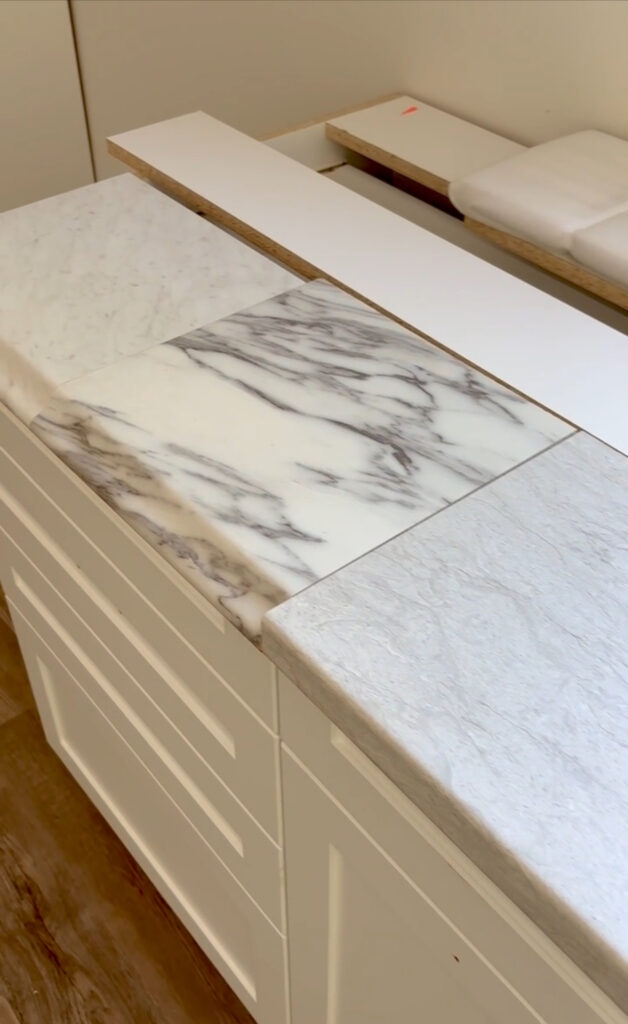
Countertops: Keep them horizontal.
Countertops are flat, so test them that way. Lay samples on a table or surface to see how their pattern and colour look in your space alongside your other finishes.
The Don’ts of Testing Samples
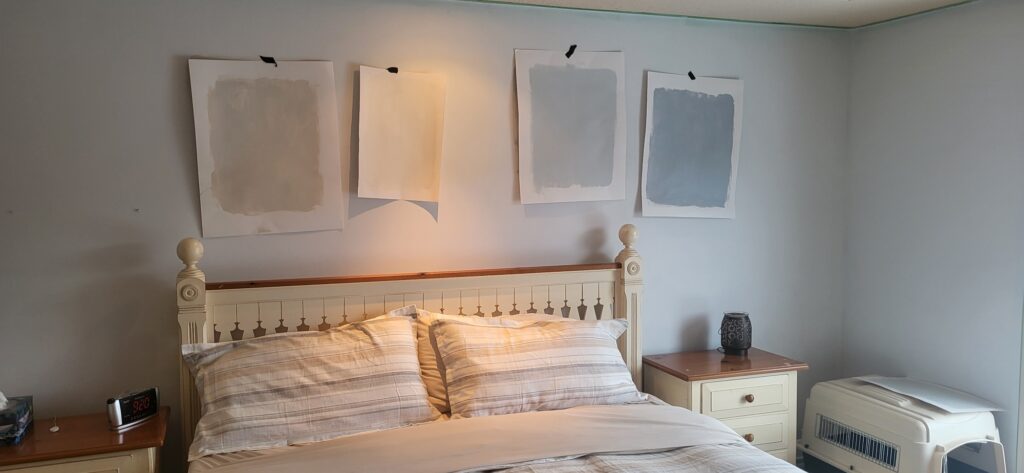
Don’t choose paint in the store.
Paint colours look completely different under fluorescent store lighting than they do in your home. Bring large samples home, test them vertically, and look at them at different times of day.
For more tips on how to choose the right paint colour click here!
Don’t skip the white backdrop.
Surround your samples with white (poster board works great). This blocks out competing colours and distractions, so you can see the sample’s true tone and undertones.
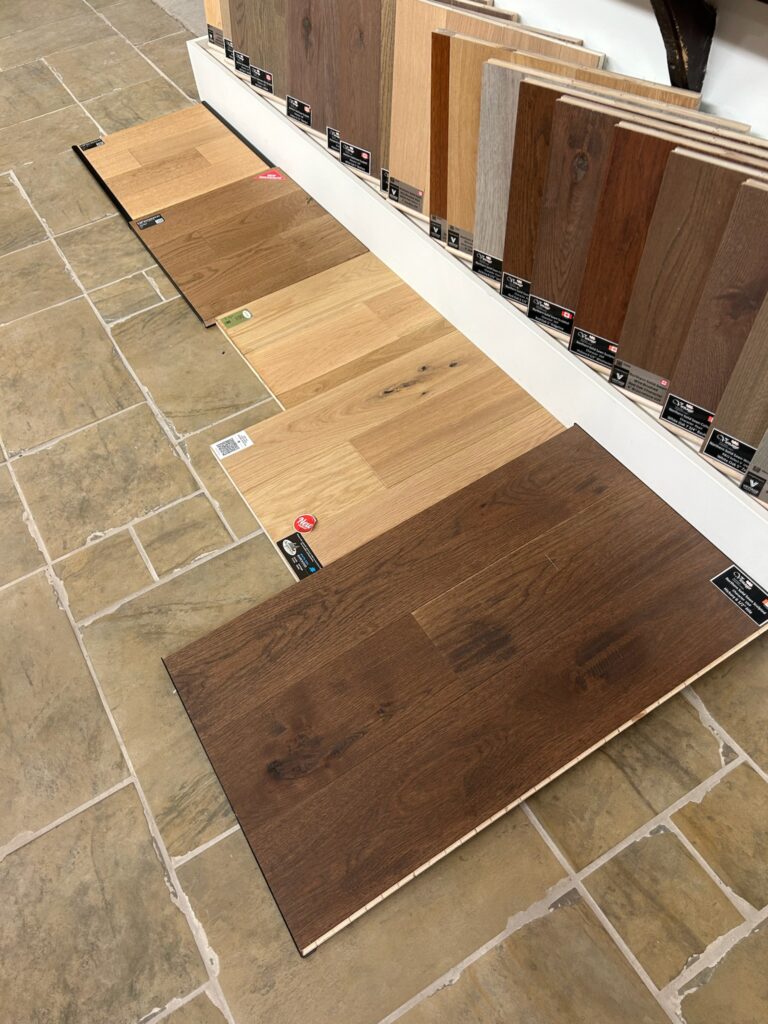
Don’t test finishes in isolation.
Compare samples side by side. You’ll spot undertones and subtle differences you’d miss otherwise. For example, one flooring option might suddenly look too yellow next to another.
Don’t rush.
DON’T RUSH.
These decisions are investments—don’t let excitement or deadlines push you into a choice you might regret. Take your time to see how each option looks in your space.
Our Personal Experience
Roger and I are starting this process months before we’ll actually install anything. From flooring to paint to countertops, we’re visiting stores, pulling samples, and testing them at home. Why so early? Because these decisions take time.
For example, when we started looking at hardwood flooring, I laid every sample flat and compared them side by side. Without comparing, I wouldn’t have noticed that one option had a red undertone that clashed with other finishes, or that another looked too yellow in our home’s lighting.
This process is all about elimination.
Compare. Eliminate. Compare again.
By testing samples the right way and giving ourselves time, we’re setting ourselves up for choices we’ll love for years to come.
Bonus Tip: Bring Samples HOME!
Never, ever make your decision in the store if you can avoid it. The lighting and surroundings are completely different from your home, and you’ll notice things in your space that you wouldn’t catch otherwise.
- Test samples at different times of the day to see how they shift with natural and artificial light.
- Surround them with white to isolate the colour or pattern.
- Compare them to other samples and existing finishes to ensure they work together.
My Final Thoughts
Whether it’s flooring, paint, or countertops, how you test your samples is just as important as the samples themselves. By taking your time, testing properly, and bringing your samples home, you can avoid costly mistakes and create a home you’ll love.
As Roger and I keep working through decisions for our new build, I’m putting everything I know as a True Colour Expert into action—and now, so can you.
Have questions about testing samples or picking finishes? Drop them in the comments—I’d love to help!


